Tack before you weld: panel order for a metal sculpture
GUIDE · 4 MIN READ · PUBLISHED
The parts just arrived and the welder is right there. Don't. An hour of layout saves an evening of rework — and until the first tack, everything is still reversible.
Check the kit first
Lay out the parts and check them against the instruction. Numbers are engraved, so just make sure every one is there. Check the cut too: tabs not fully cut, plasma dross, edges bent in transport. Remove burrs now with a file or flap disc. After assembly, you won't reach many of those spots.
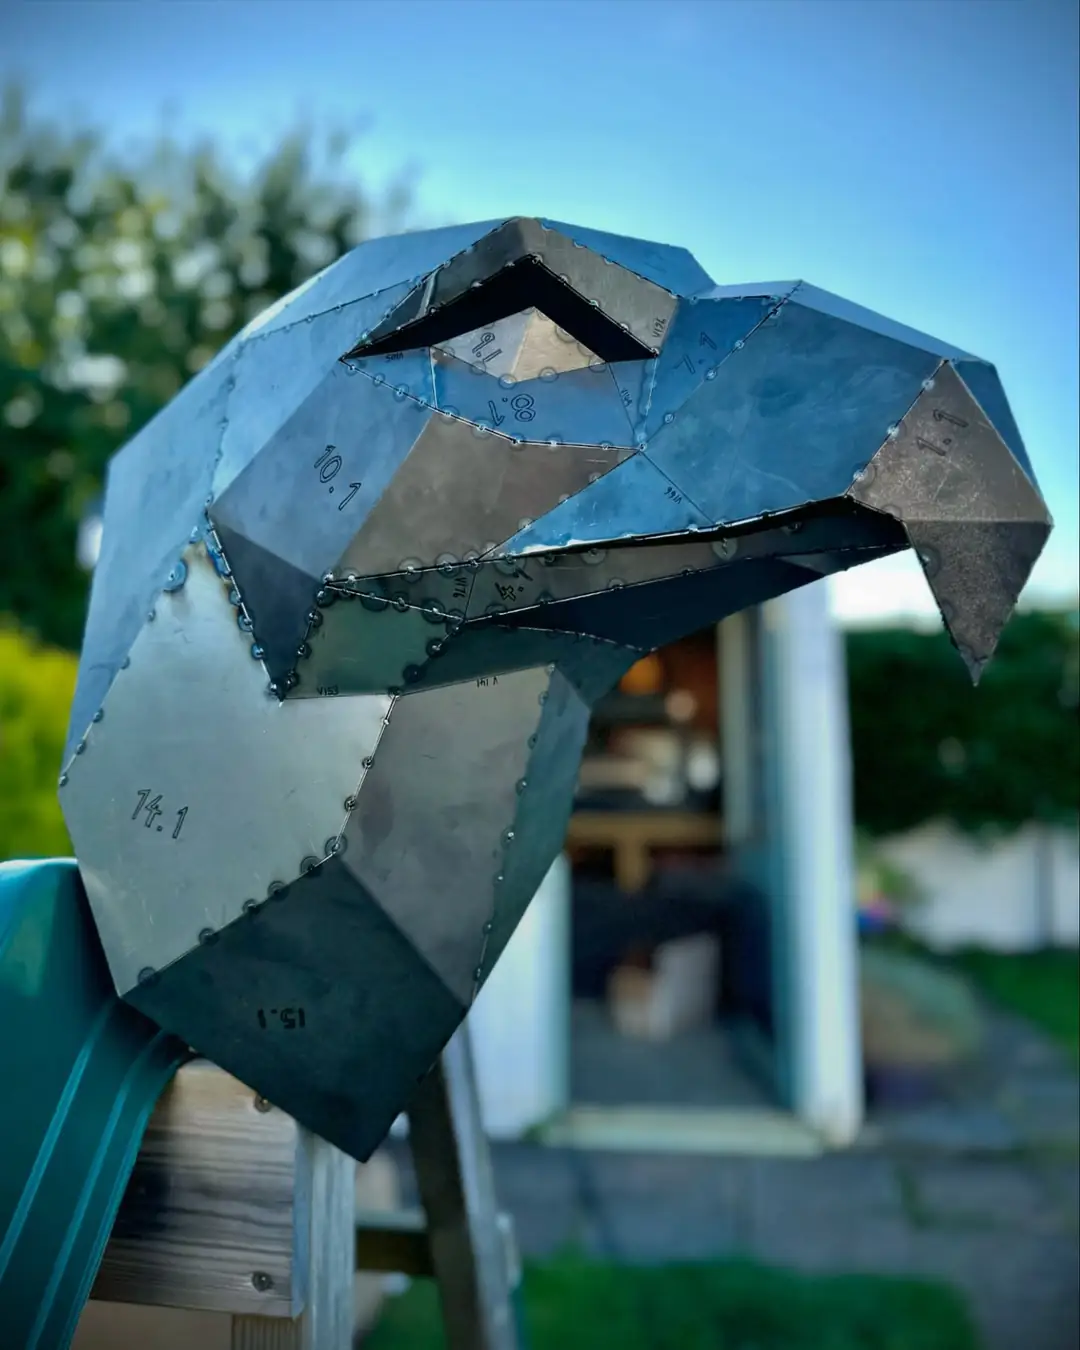
The numbers are the assembly order
Parts aren't numbered at random. Part 1 goes first, then 2, and so on. The order is designed so you can always reach the next seam.
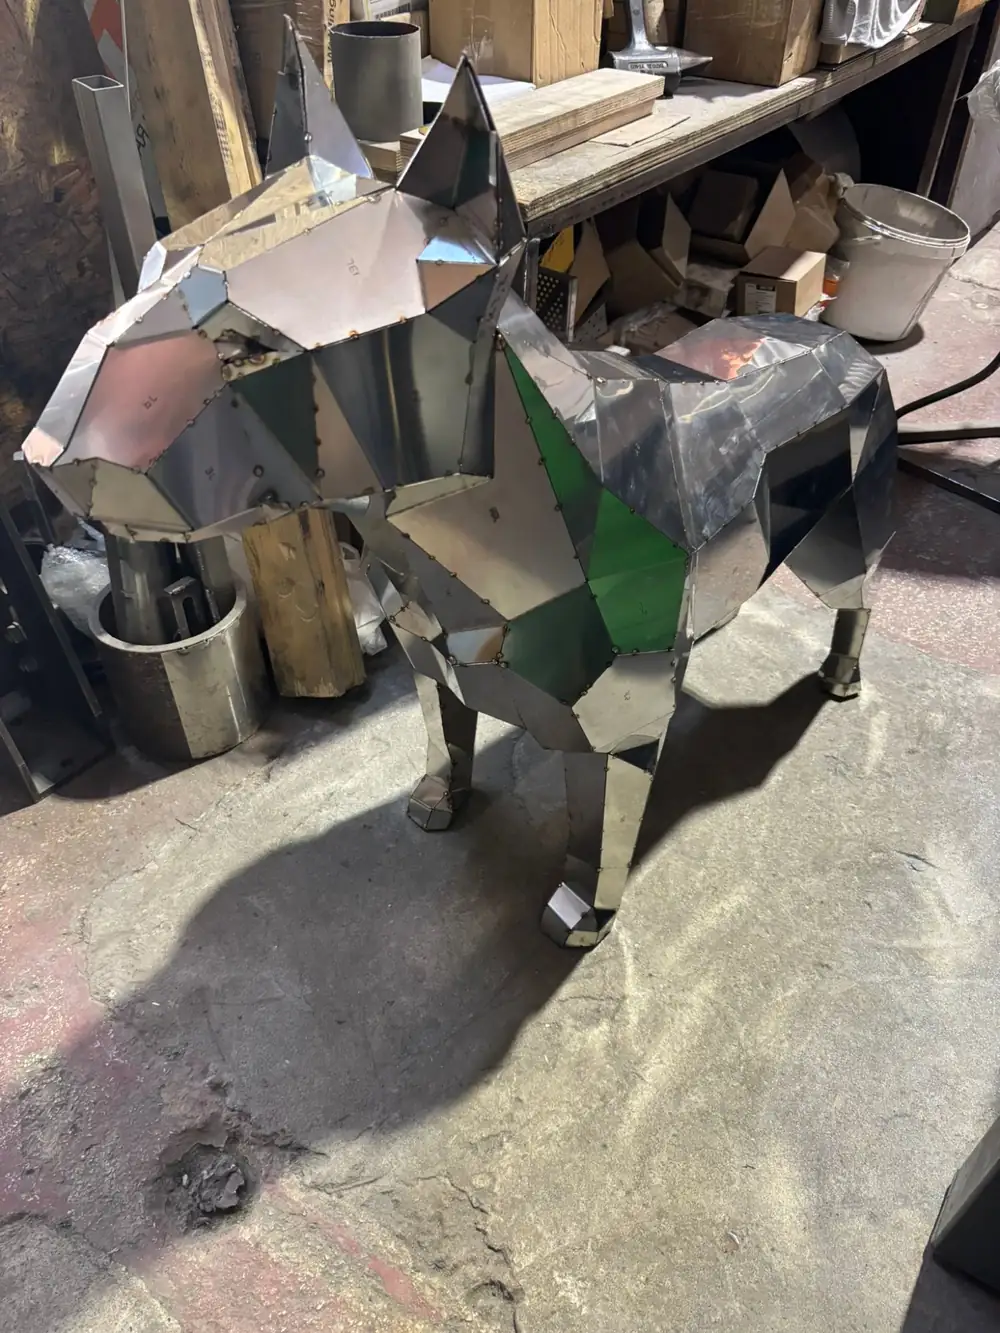
Assembly runs from closed volumes to open ones. On a dog, for example: start with the head, then the front legs, then the body, and so on.
What a tack weld is
A tack is a weld spot a few millimeters long. It holds two parts together, but it isn't a seam — its job is to fix the geometry. You can grind a tack off and reposition the part. A full seam, almost never.
The whole low-poly sculpture is assembled on tacks. Seams come later, once the shape is checked.
How to tack
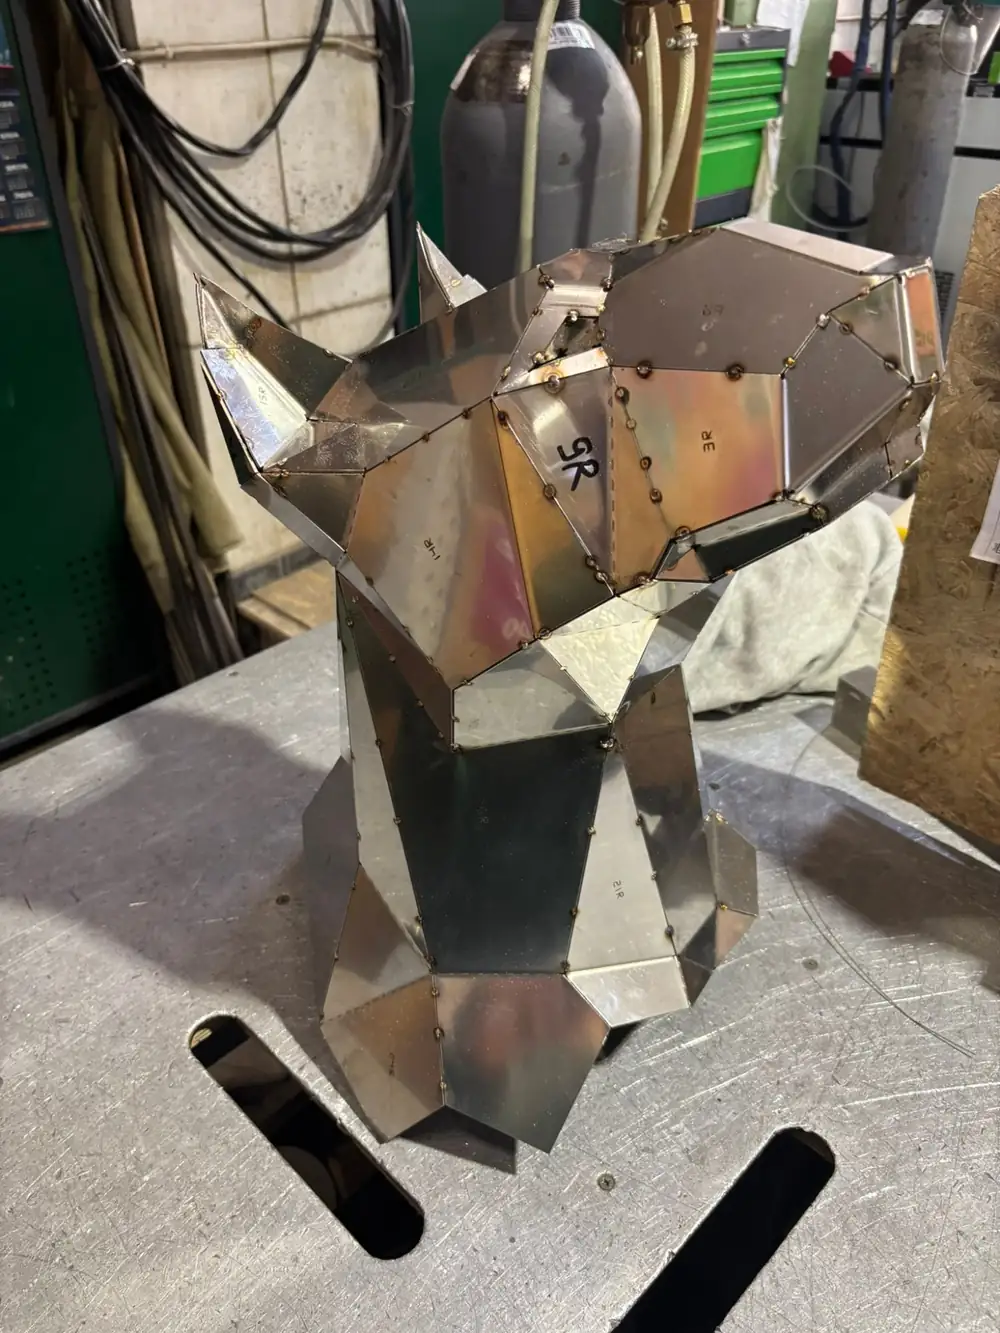
- Join parts edge to edge with magnetic squares and clamps. Don't hold them by hand: you need both hands, and the part should stand on its own.
- 2–3 tacks per edge. Enough to hold, few enough to undo easily.
- Tacks can go on the inside or the outside.
- Short pulses. On 1.5 mm, a long tack quickly becomes a hole.
- Every few parts, step back and look at the whole shape.
The reversibility rule
While it's only tacks, any part can come off. Use that. Not sure a face sits right? Check now, not "after I weld it". Grinding off one tack takes a minute. Cutting apart a welded joint takes half a day and ruins the edge.
Angle errors add up. A face off by a couple of degrees becomes a visible twist by the end, and you won't find the part that caused it. If the model stands on legs, check that it stands level, without rocking, before any seams.
Then the seams
Seams are welded on the outside, along the edges. The inside isn't welded. MIG is the best choice for 1.5 mm and for beginners: fast and forgiving. TIG gives the neatest seam and is the one for stainless.
Safety in one line: mask on even for a single tack, and never weld in a closed garage.
Next: grinding the seams without rounding the edges.
FAQ
How many tack welds per edge?
2–3 on thin sheet. Enough to hold the geometry, easy to grind off if a part needs moving.
Should I tack the whole sculpture before welding seams?
Yes. Assemble everything on tacks, check the shape, then weld the seams.
Do tack welds go inside or outside?
Either works.
Why do I keep blowing holes when tacking thin sheet metal?
The tack is too long. Use short pulses on 1.5 mm steel.
More builder guides
- How to get a DXF laser cut (quote email included)
- Bend line UP vs DOWN: reading engraved marks
- Bend fold lines without a press brake
- Grinding welds without rounding the edges
- Corten vs mild steel vs stainless
In every Denerog plan, part numbers follow the build sequence, so the next seam is always within reach.
Browse plans